Hello Crafty Friends,
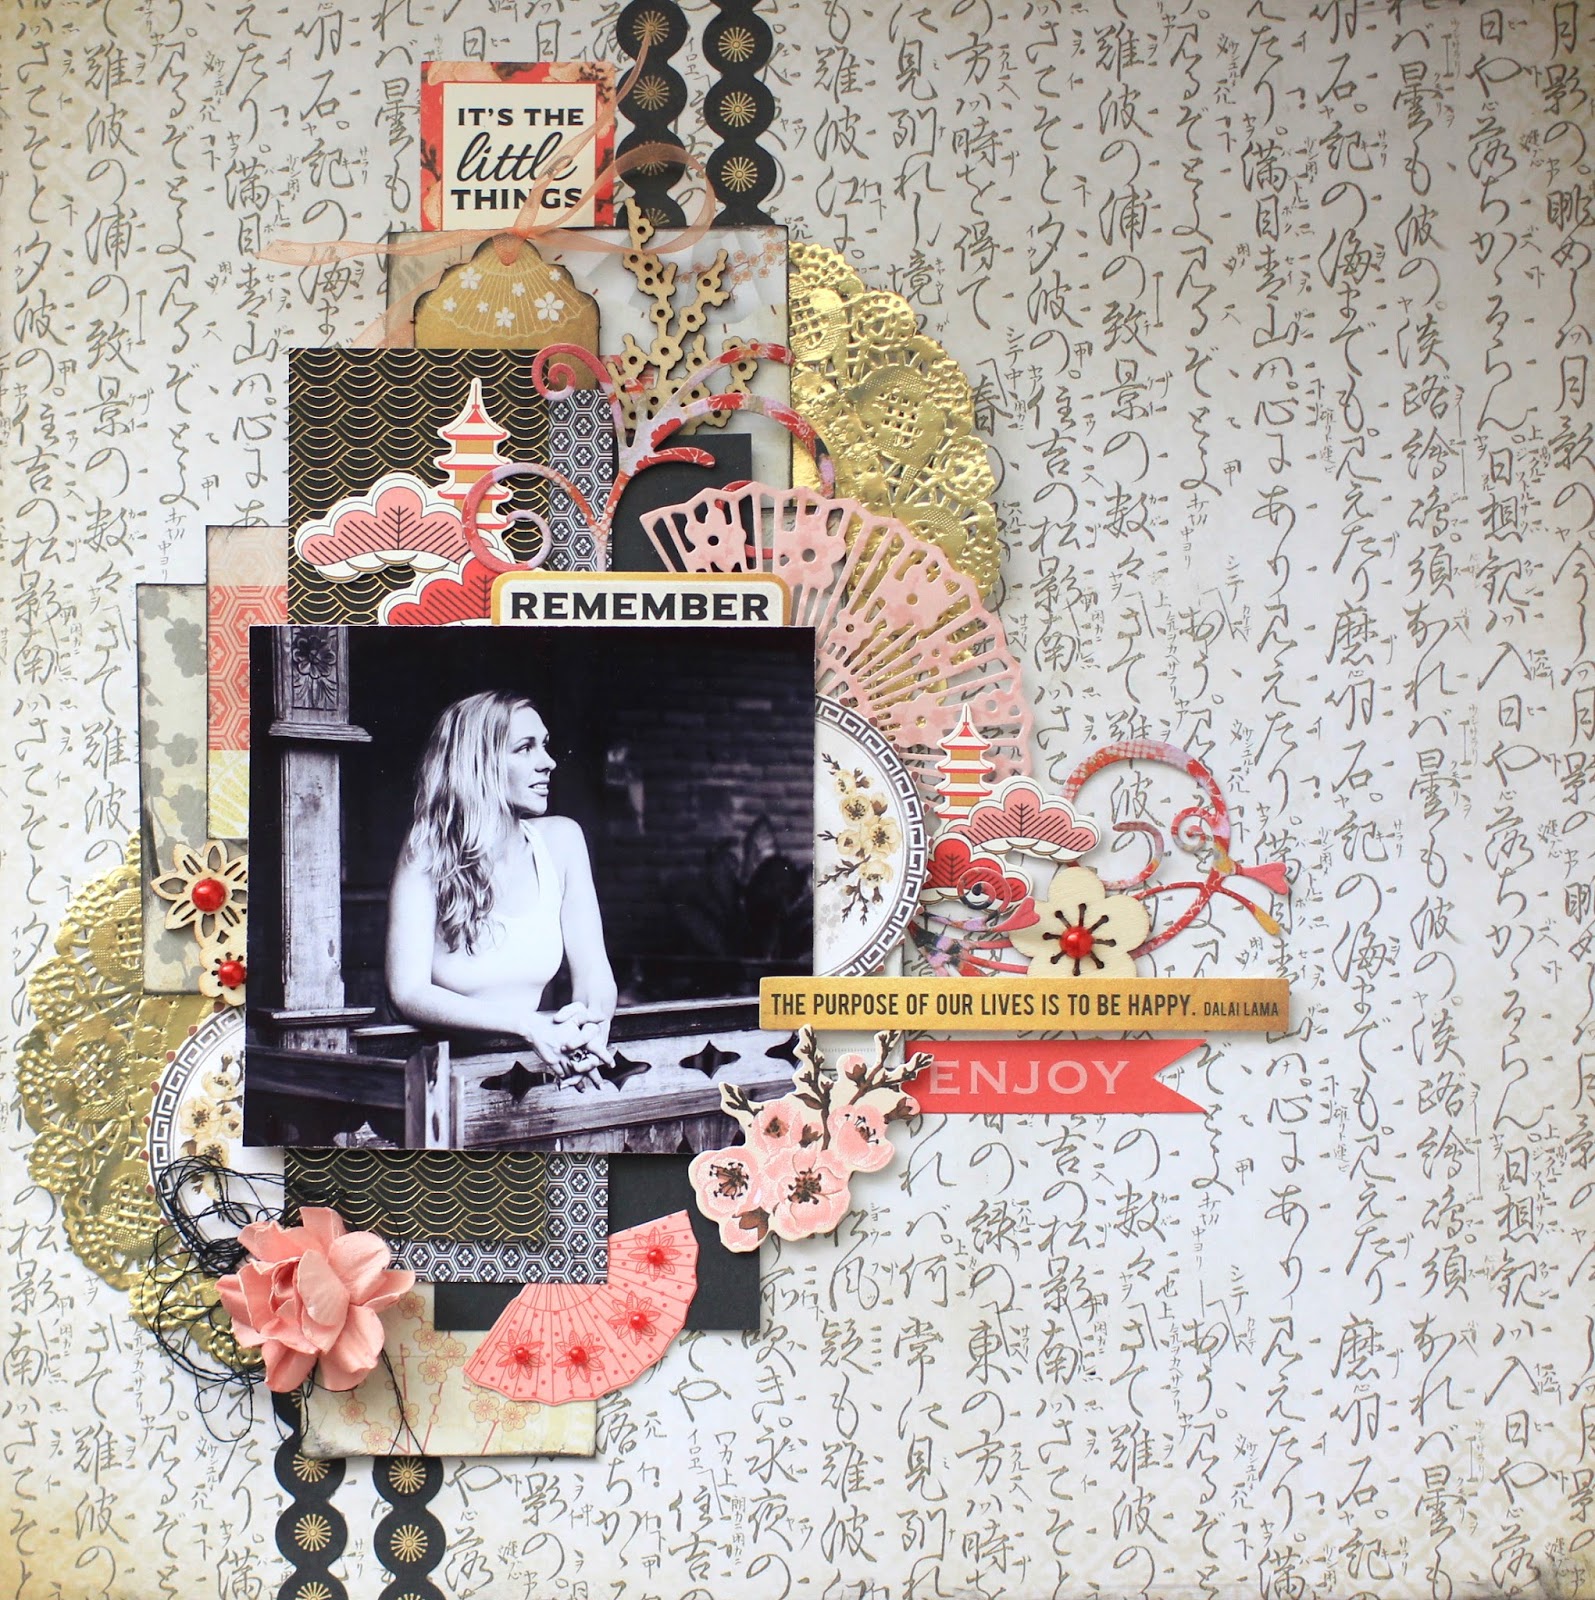
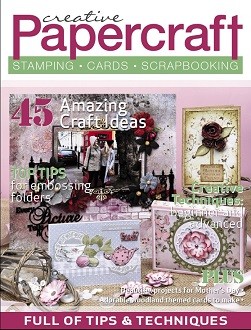
Awhile ago now I had three layouts published in the new Creative Papercraft Magazine Issue 4. The theme was "Around the World" so I used Kaisercraft's Hanami Garden Collection. This first photo and the last photo was taken by a friend of mine who had just recently visited Japan. This middle photo is of my cousin in Bali. I tried to make three different layouts with this collection and they had to be different to the ones I had already made for Kaisercraft. Each have instructions if you would like to re-create them yourself.
Layout #1 - Love
Materials Used
Kaisercraft Product:
Papers:
Hanami Garden Collection
PS481 Fan pattern – Gold Foil, P2254 Sakura,
P2253 Mokuren
CT875 Collectables, PP1015 Paper Pad, FL595
Flourish Pack – Ornamental, SB710 Rhinestones – Orange, SB795 Pearls – Red,
SB793 Pearls – Black, KC050 Kaiser Colour - Metallic Gold Paint, KC009 Kaiser
Colour – Red Paint, IP719 Ink Pad - Black, F664 Paper Blooms – Fire Red, CS282
Clear Stamps, SS332 Sticker Sheet, T321 Acid Free Craft Glue, T303 Foam Tape,
T314 Double Sided Tape 6mm.
Other: Black Sewing Thread.
Equipment Used
Paper Trimmer
Paint Brushes
Scissors
Step-By-Step
Instructions:
1.
Cut Fan Pattern paper to 11.5cm
wide. Cut red strip from bottom of
Mokuren paper. Layer these both onto
Sakura paper (Reverse).
2.
Stamp Cherry Blossom Tree Stamp
onto Sakura paper with Black ink alongside the join of the red paper strip.
3.
Cut some rectangle paper pieces
from the Paper Pad and position in horizontal and vertical layers over the red
paper strip join with mounting tape.
4.
Use a mixture of Collectables
(flowers, birds, fans, umbrella, “snapshots” and “love” words) and Fussy-Cut
flowers from Mokuren paper amongst the layered papers and photo.
5.
Add some Wooden Flourishes
including “Buildings”, “Fan” and “Flower” in and around the Fussy-cut Flowers
and Collectables.
6.
Add a “Love This” Banner from
the Sticker Sheet to just below the photo.
7.
Glue a Red Paper Bloom with
some Black Sewing Thread to left-hand bottom corner of photo.
8.
Splatter Gold and Red paint
over the page by hitting two paintbrushes together.
9.
Embellish with Black Pearls,
Red Pearls and Orange Rhinestones in clusters of two around the Collectables.
Layout #2 - Remember
Materials Used
Kaisercraft Product:
Papers:
Hanami Garden Collection
P2250 Komoberi (x2)
CT875 Collectables, PP1015 Paper Pad, FL595
Flourish Pack – Ornamental, SB795 Pearls – Red, IP719 Ink Pad Black, BRB606
Organza Ribbon, F641 Paper Blooms – Dusty Pink, SS332 Sticker Sheet, LDB1119
Foil Doilies – Gold, DD168 Decorative Die – Oriental Fan, DD757 Decorative Die
– Large Flourishes,
T321 Acid Free Craft Glue, T303 Foam Tape,
T314 Double Sided Tape 6mm.
Other: Black Sewing Thread.
Equipment Used
Paper Trimmer
Die Release Tool
Die Cutting Machine
Scissors
Step-By-Step
Instructions:
1.
Ink edges of one of the
Komoberi papers (Reverse) in Black Ink.
Cut the other Komoberi paper into rectangles following the design on the
paper and ink edges with black ink.
Using these rectangles and some strips from the paper pad, position in
horizontal and vertical layers with Mounting tape.
2.
Take black and gold sticker
strip from Sticker Sheet and adhere two strips to the top of the page and two
strips to the bottom of the page.
3.
Cut a Gold Doily in half and
position under the layers of paper.
4.
Cut an Oriental Fan Decorative
Die from pink paper in the Paper Pad and a Large Flourish Decorative Die from
red floral paper in the Paper Pad.
Position these Decorative Die Cuts with Collectables (Fan, Clouds,
Flowers, Umbrella and Quotes) and Wooden Flourishes amongst the layers of the
papers. Include a tag from the back of
the Paper Pad tied with Organza Ribbon.
5.
Add a red “Enjoy” Banner from
Sticker Sheet.
6.
Embellish with some Red Pearls
on top of the Wooden Flourish flowers and red fan Collectable.
Layout #3 - Moments


Materials Used
Kaisercraft Product:
Papers:
Hanami Garden Collection
P2252 Kasa, P2254 Sakura
CT875 Collectables, PP1015 Paper Pad, FL595
Flourish Pack – Ornamental, SB710 Rhinestones – Orange, RS404 Rhinestones – Champagne,
KM109 Kaiser Mist – Red, KM102 Kaiser Mist – Antique Gold, IP719 Ink Pad -
Black, IP734 Ink Pad – Cherry, BRB606 Organza Ribbon, F641 Paper Blooms – Dusty
Pink, F664 Paper Blooms – Fire Red, EM431 Polaroid Cut Outs, CS257 Background
Stamp – Script, T321 Acid Free Craft Glue, T303 Foam Tape, T314 Double Sided
Tape 6mm.
Equipment Used
Paper Trimmer
Die Release Tool
Scissors
Step-By-Step Instructions:
1.
Spray Kasa Paper with Red and
Gold Kaisermists. Ink edges of paper
with Red Ink.
2.
Stamp Background Script Stamp
onto middle of Kasa Paper with Black ink.
3.
Adhere together four Polaroid
Cut Outs with edges inked in red and black inks. Choose four different papers from the Paper
Pad to fill the spaces in each of the Polaroid Cut Outs and layer these papers
behind.
4.
Layer chosen Photo onto red and
cream paper from the Paper Pad. Position
over the top of the four Polaroid Cut Outs with mounting tape.
5.
Use a mixture of Collectables
(flowers, quote, tab and “Moments” Title) and Fussy-Cut Flowers from the Paper
Pad and from Sakura paper and position around the Photo and Polaroid Cut Outs.
6.
Pop out a tag from the paper
Pad and tie it with some red organza ribbon.
Adhere it to the back of the Polaroid Cut Outs.
7.
Adhere some Wooden Flourishes including
“Love, “Fan” and “Cherry Blossom” in and around the Fussy-cut Flowers and
Collectables.
8.
Adhere the layered Polaroid Cut
Outs with Photo to the centre of the background page with mounting tape.
9.
Embellish with a pink and red
Paper Bloom in the left-hand corner of the Photo and some Rhinestones sprinkled
in clusters of three around the Polaroid Cut-Outs.
This is the magazine the layouts were featured in and you can get a digital copy here if you wish.
Thanks for stopping by today : )